The situation
The automotive industry has to subject itself to ever more stringent regulations when it comes to the safety and quality controls of your vehicles. As a result, improved quality and reliability of the individual components is essential. Reinforced controls and the finest measuring technology are used to put every single part through its paces before it is approved for the construction of a vehicle.
Our customer
MDS Maschinen- und Werkzeugbau GmbH & Co. KG has been a system supplier for automated connection technology for over 50 years. MDS offers holistic solutions from a single source and is known for the production of high-quality fasteners.
The various fasteners such as press-in or blind rivet nuts, spacers and various bolts are subjected to rigorous quality testing. All connecting elements are subjected to an automated 100% test with regard to optically measurable dimensions before they are sent to the respective customer. The fasteners are measured by a camera system down to the 0.1 µm range and automatically sorted according to OK and NOK parts.

The challenge
The current measuring system could not prevent the belt from running off to the side, which made it necessary to constantly monitor the position of the belt and correct it manually on a regular basis. In addition, there was increased wear on the belts as a result of additional mechanical loads on the drive pulleys.
The challenge was to reduce the wear on the belts and to prevent the belts from running out in order to reduce the pseudo-waste proportion of the measurements. Since all pseudo-reject parts are fed back into the system in order to measure them again, this would reduce process times on the one hand and offer a financial advantage through fewer NOK parts on the other.
The solution
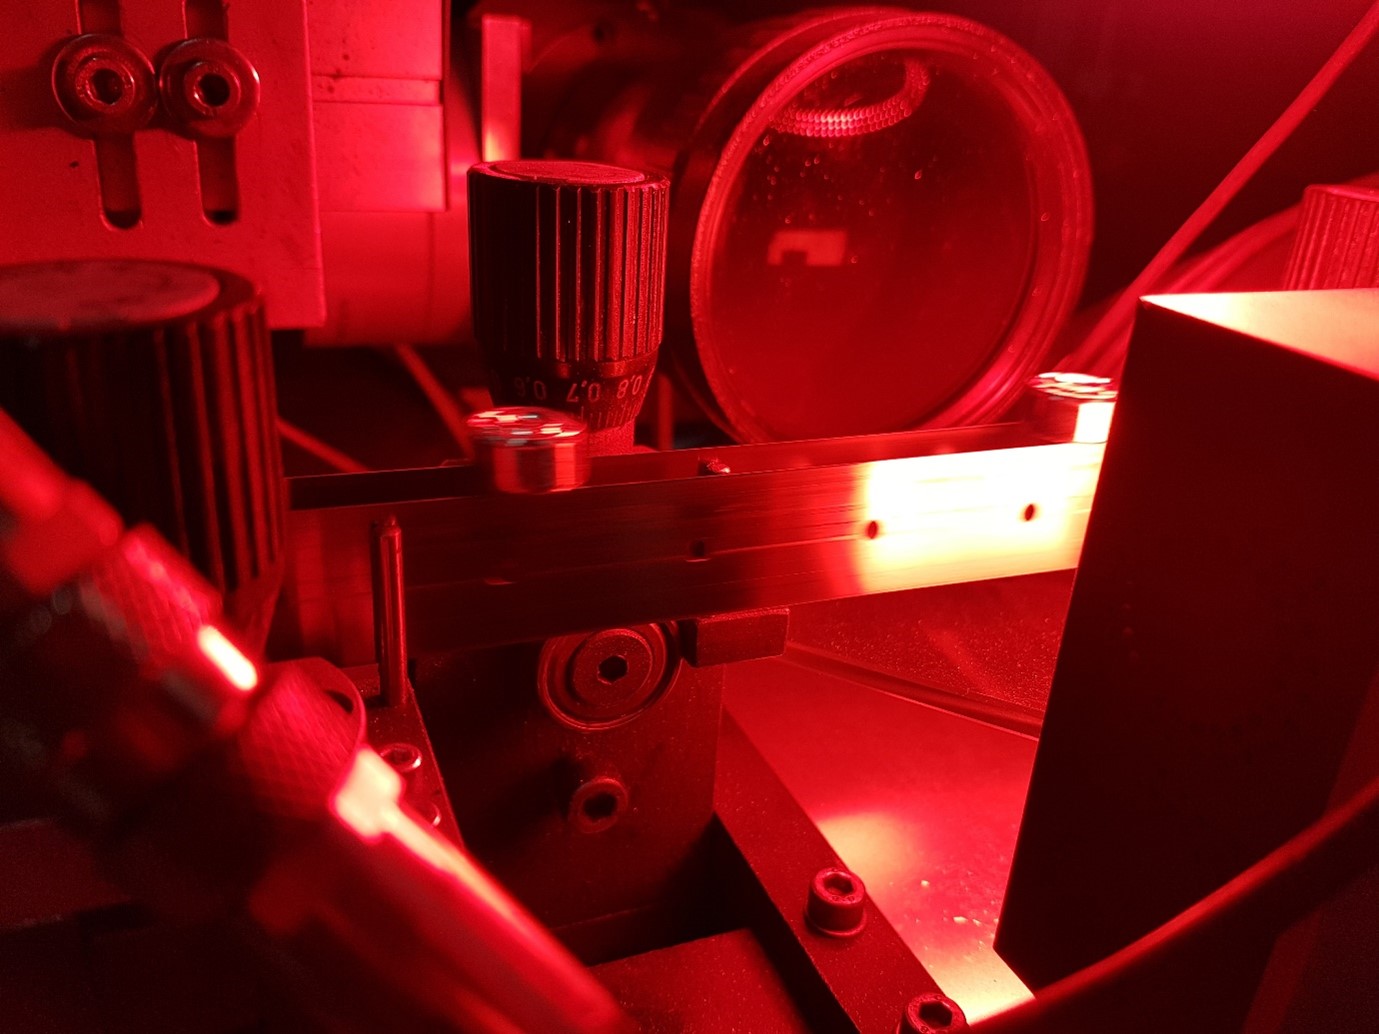
In cooperation with MDS, the measuring system was put through its paces. Here it was found that due to the vertical alignment of the tape and non-ideal roll holders, lateral movement led to tearing of the hole pattern, since the timing elements hit the edge of the hole. However, timing was not necessary for the measured parts. The timing elements were therefore removed and a bare belt used. In order to improve the tracking of the belt and to guide the belt centrally, not only have the reel holders been optimized in order to be able to make the finest adjustments to the angle of the axle, but a narrow silicone coating has also been applied to the middle of the pulleys. This centres the steel belt and does not further increase its bending stress compared to a crowned pulley.
Additionally, we offered laser cutting of the steel belt to halve the tolerance for edge straightness. This will also prevent the nuts from being raised and lowered, which are transported with high precision on the belt edge past the sensitive camera technology.

The conclusion
The service life of the belt has been increased many times over, while at the same time the process times for camera inspection of the fasteners have been significantly reduced. The maintenance effort of the test system was also significantly reduced by the optimizations. The delivery of our PureSteel belts with precise laser cutting is still pending. What is certain, however, is that in cooperation with us, clear advantages have been made possible and that one would like to build on this success.
Please do not hesitate to contact one of our sales engineers today if we can help you with the use of a steel belt in your application. Find out more about our steel belt technology at belttechnologies.com.


